5.5 When2Meet
5.5.1 Introduction
When2Meet is a scheduling tool that helps groups find the best time to meet. Users input their availability and When2Meet returns a green/red color scale calendar showing times when people are most available/unavailable.
5.5.2 Main Features
| Feature | Details |
|---|---|
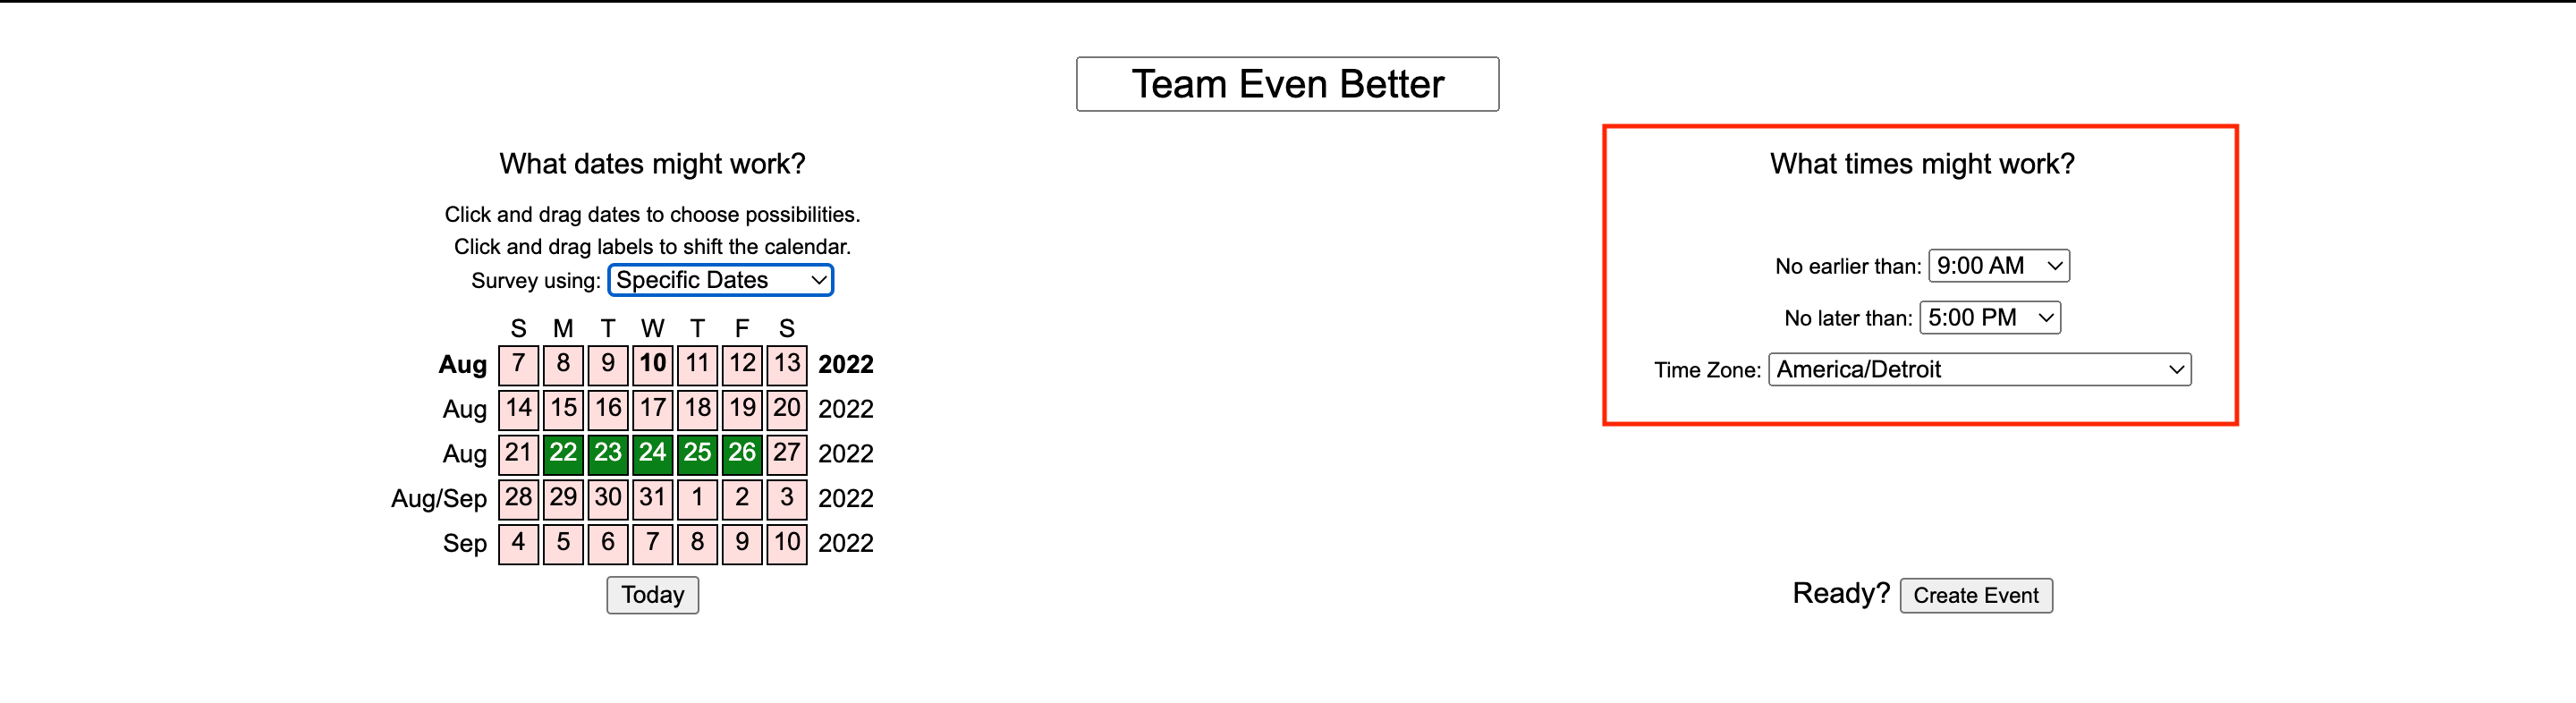
| What dates might work? | Allows the planner of the event to select specific dates or days of the week for group members to enter their availability. |
| What times might work? | Allows the planner to select the time zone and time period they would like group members to enter their availability for. |
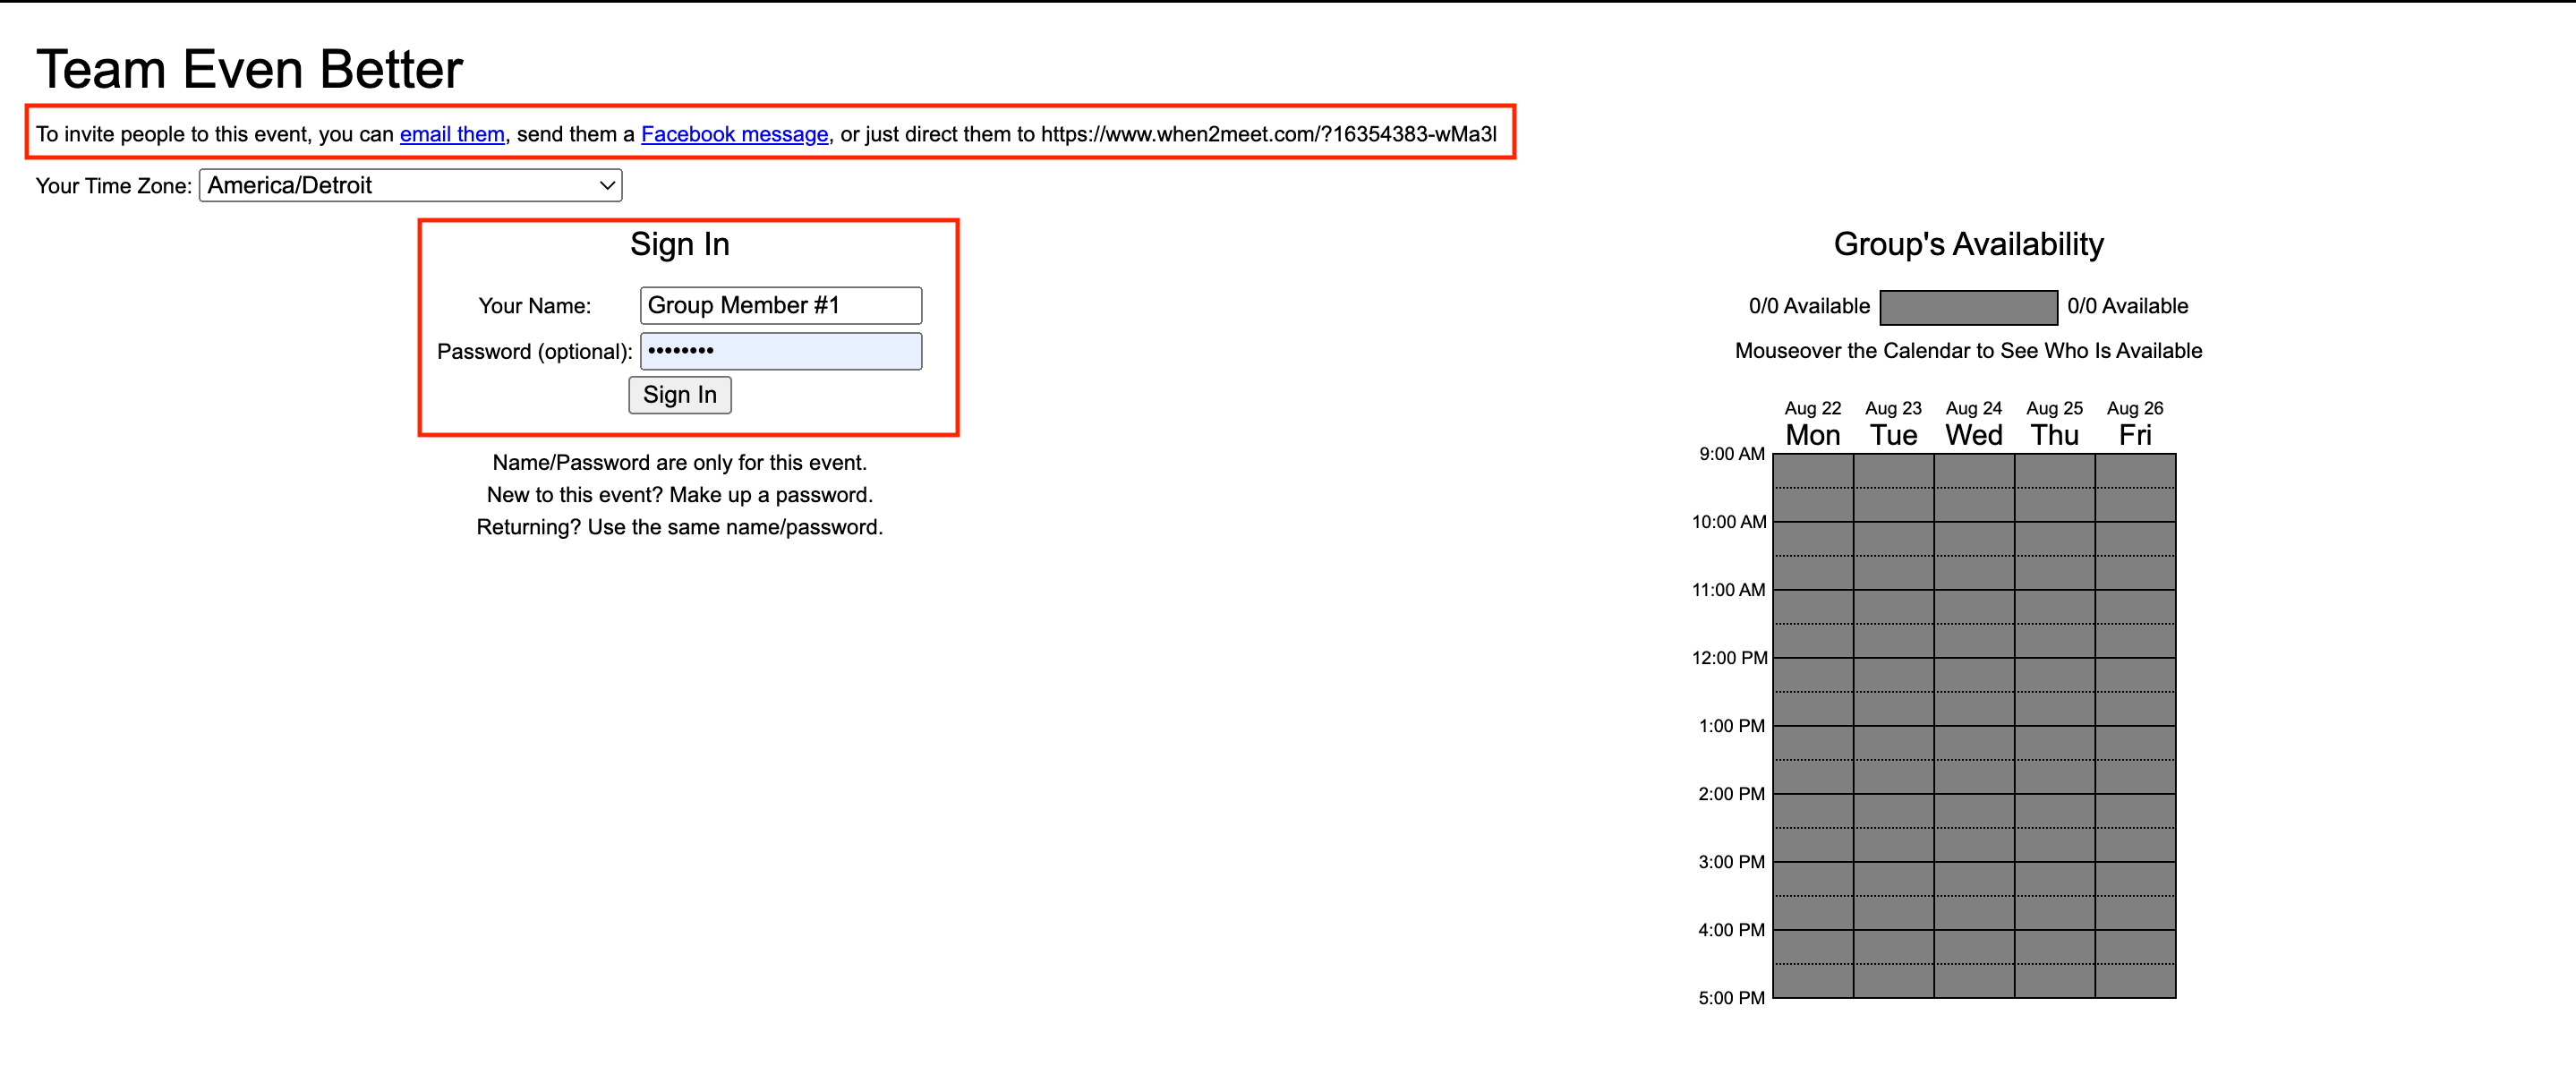
| Sign In | Users can enter a display name to be shown on the calendar. They may also enter a password to revise their availability as needed and the password maintains the security of their responses. |
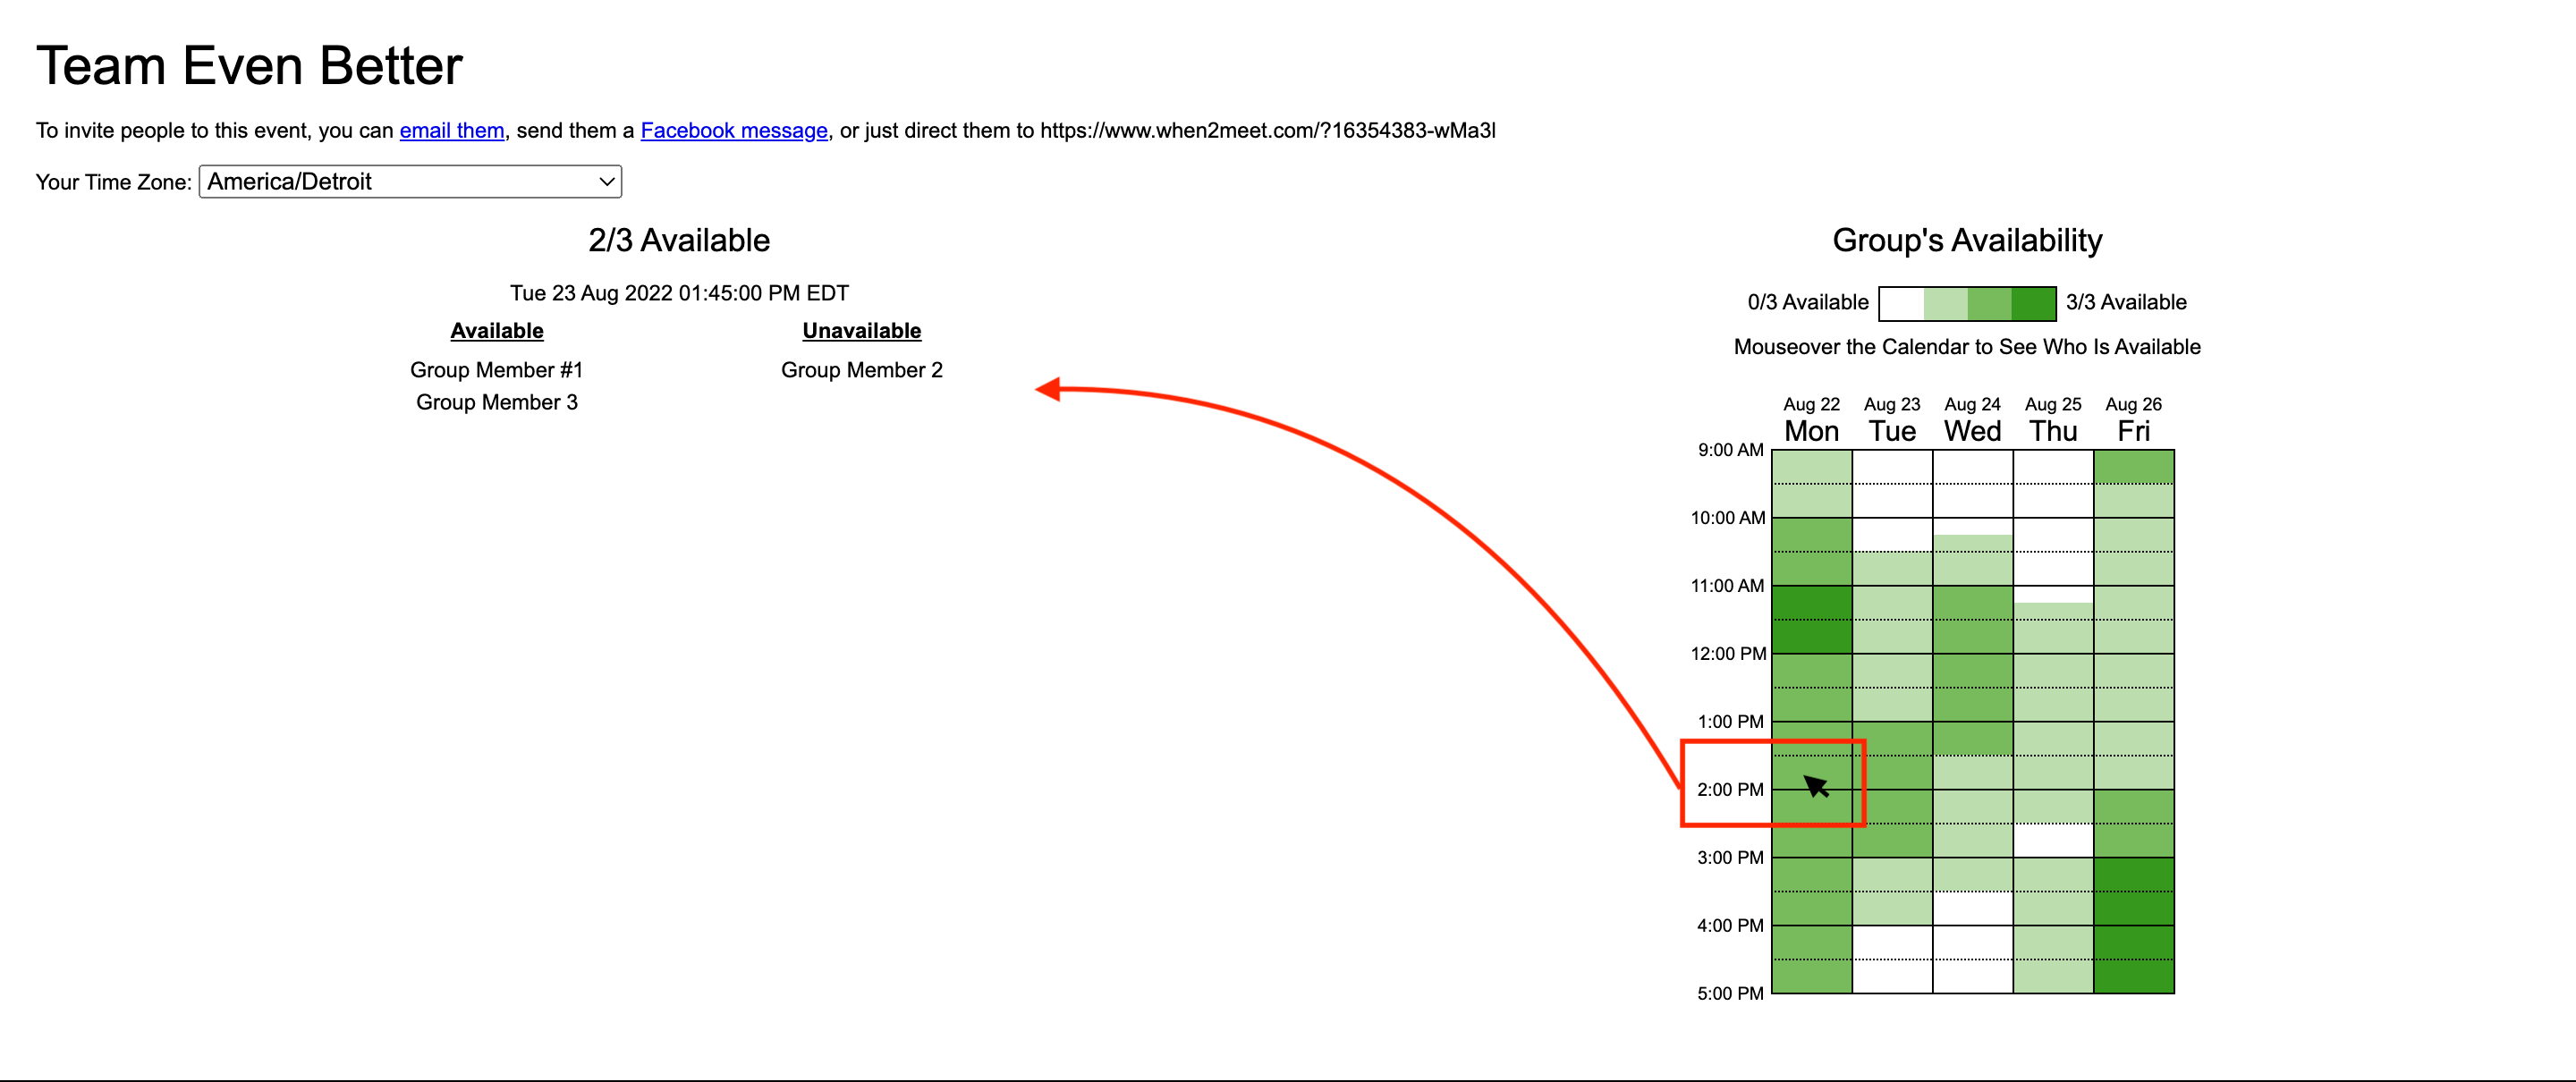
| Calendar | Displays the group’s availability in 15 minute increments when hovered over, along with who is either available or unavailable. |
5.5.3 Tutorial
Step 1: Plan a New Event
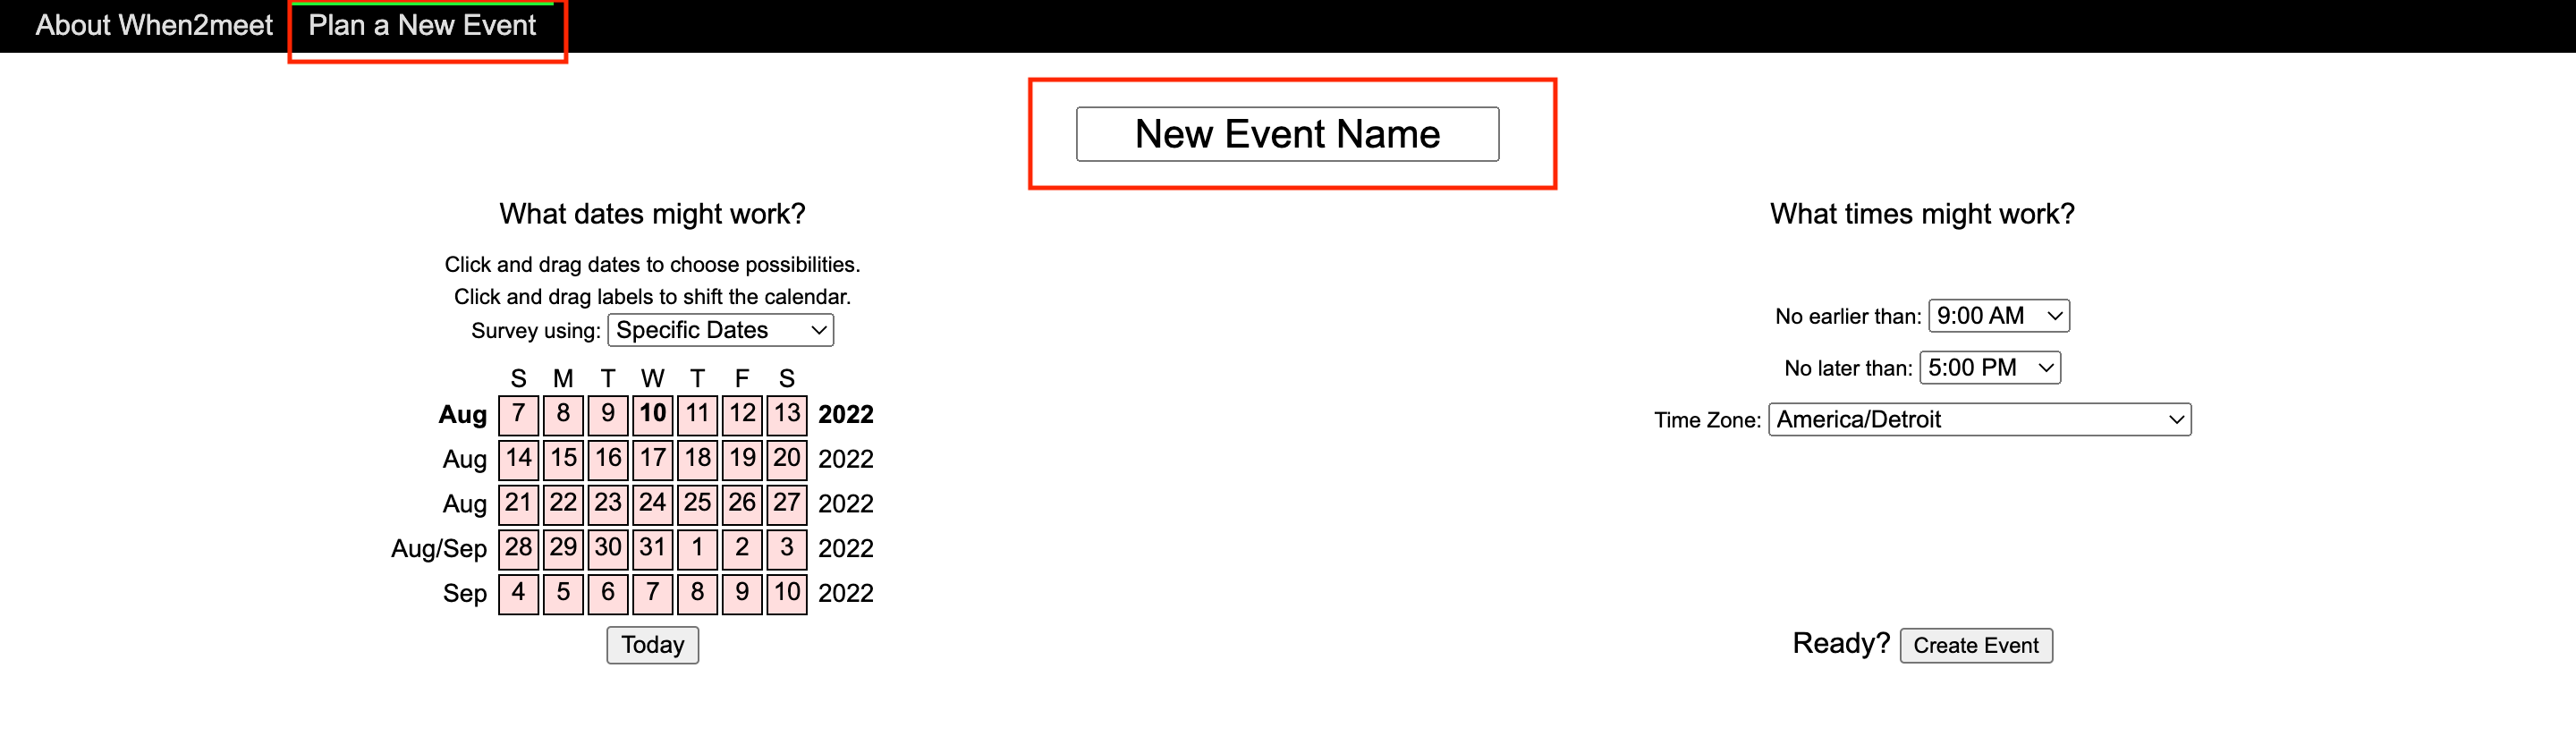
As the organizer of the event, navigate to the When2Meet website. Select the “Plan a New Event” tab in the top left corner. Name your meeting/event in the “New Event Name” text box.
Step 2: Select Dates
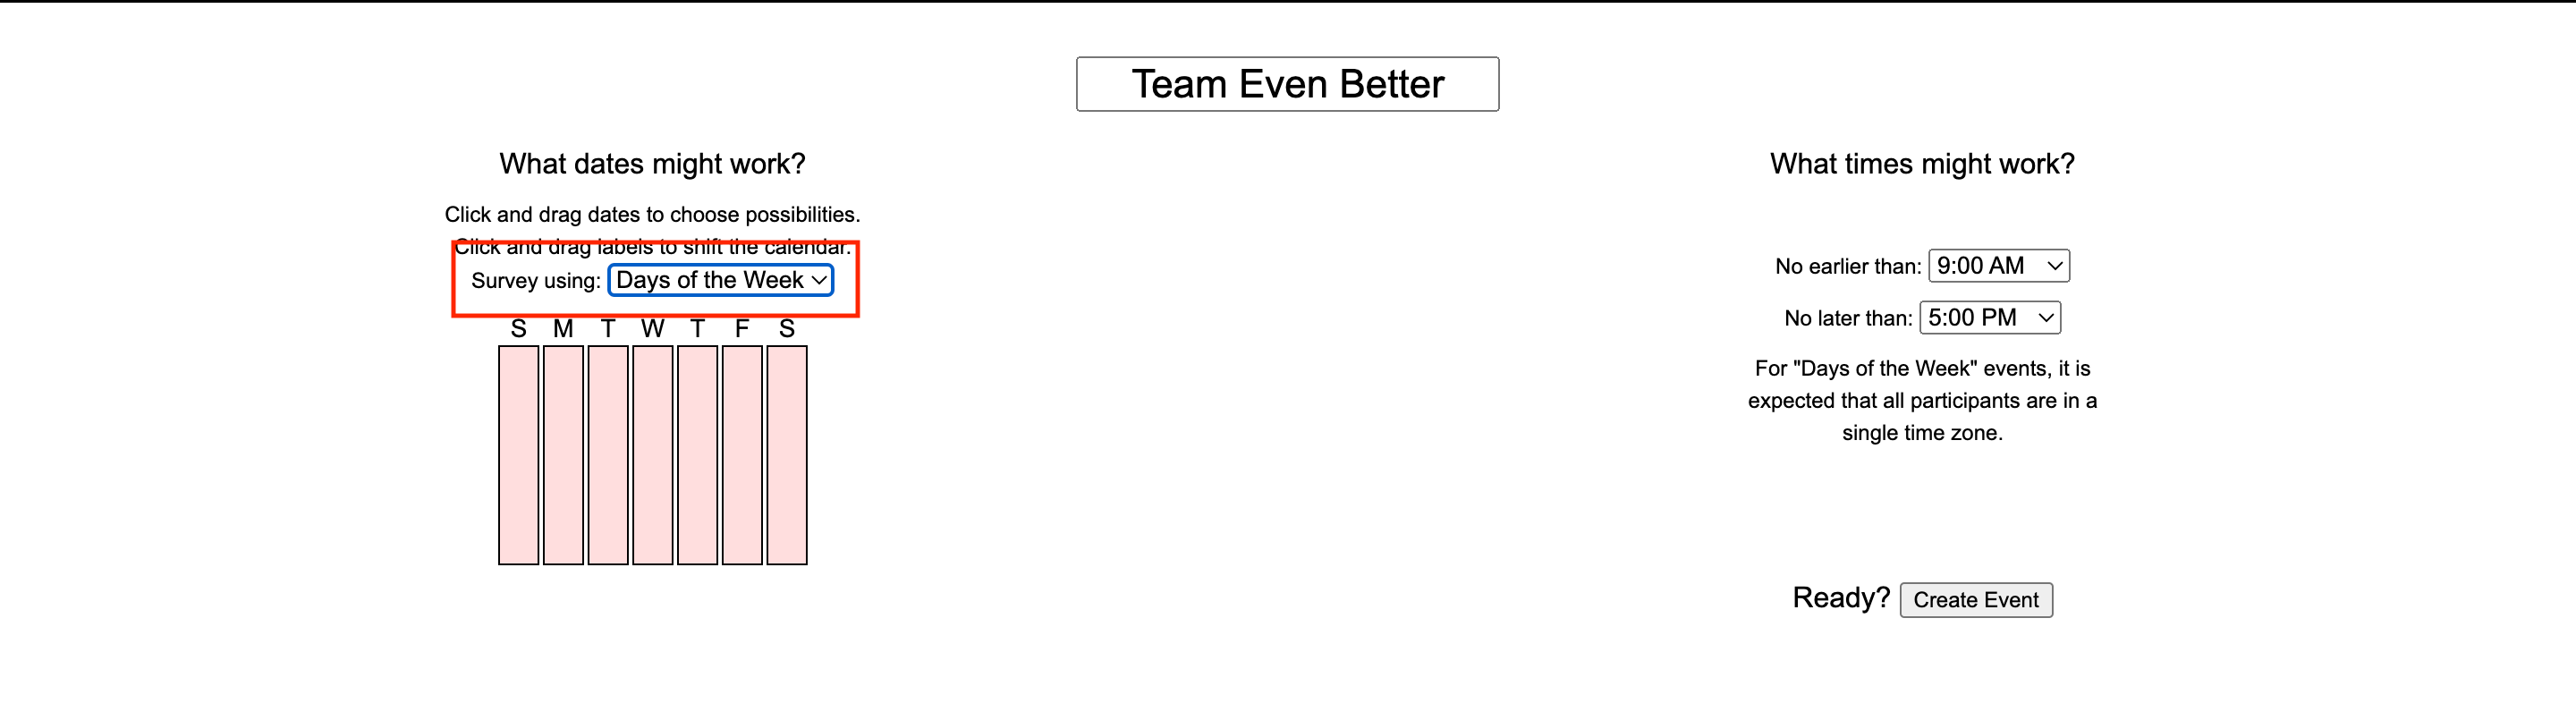
Click on the dropdown menu next to “Survey using:” and select either “Specific Dates” or “Days of the Week”.

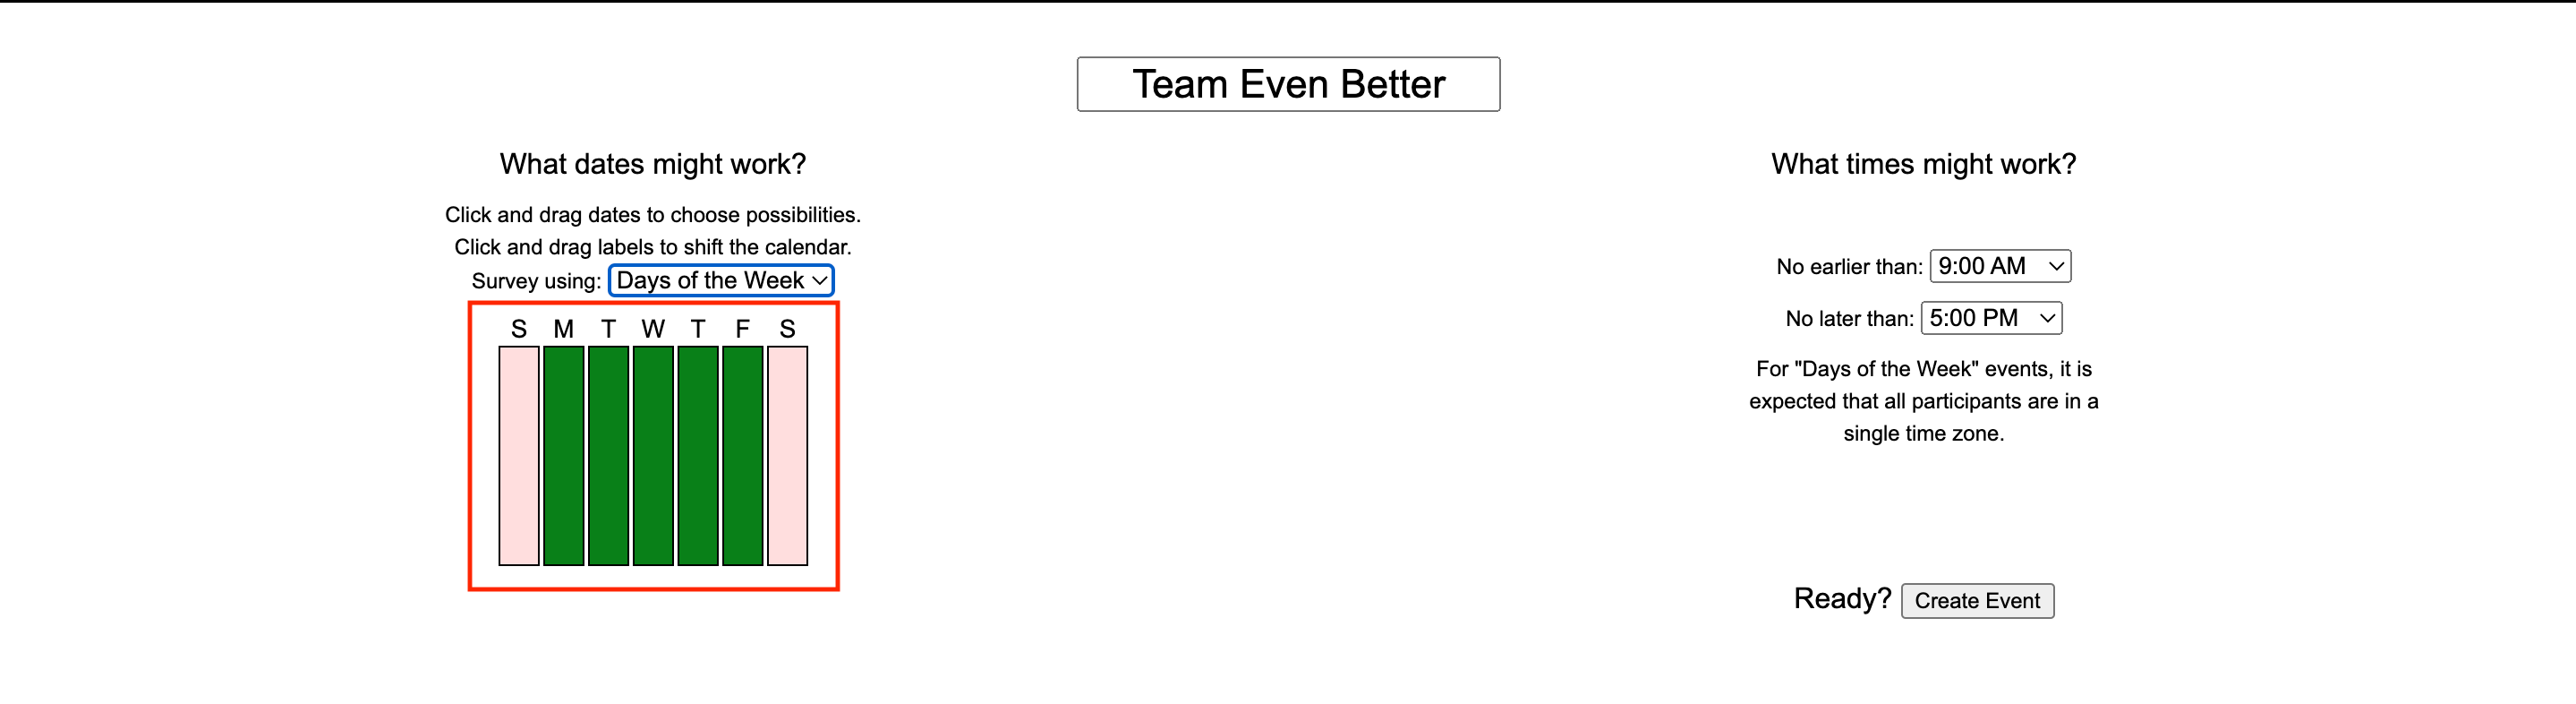
If you select “Days of the Week”, select the specific day of the week you wish group members to enter their availability for. The selected dates/days will turn green.
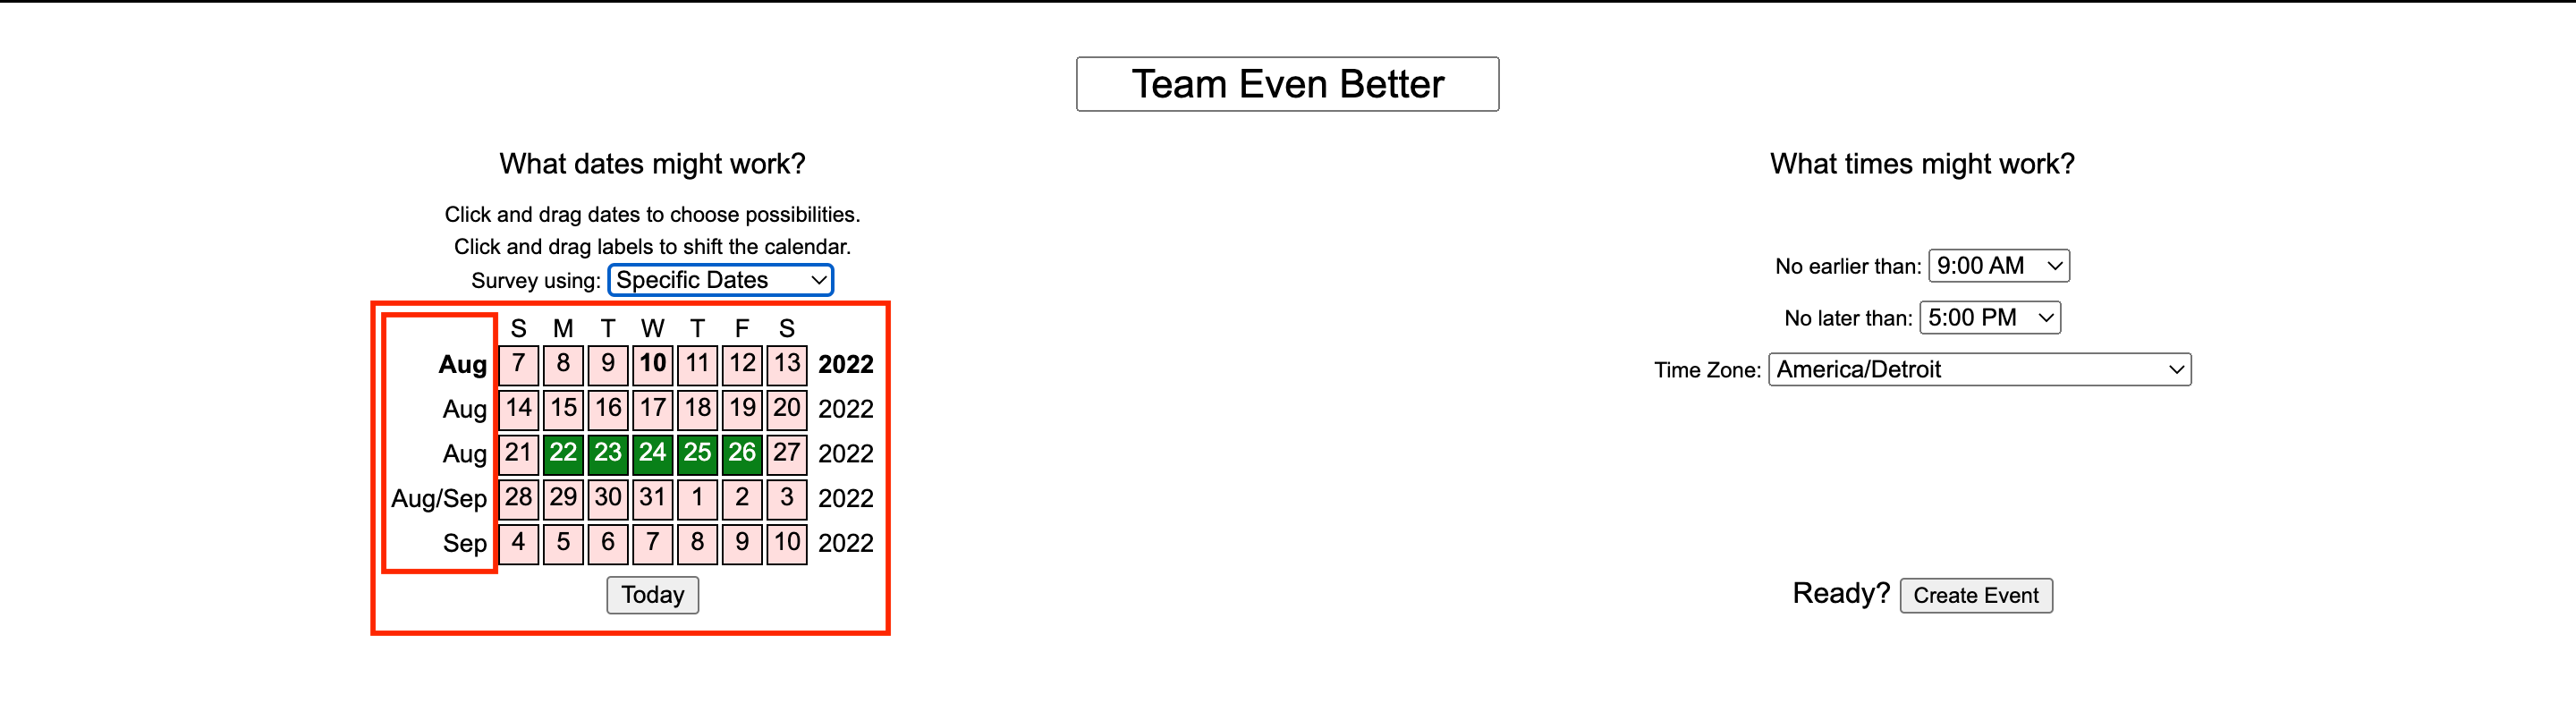
If you select “Specific Dates”, select all of the days you wish group members to enter their availability for. To change months, drag the column where the months are listed to the left of the calendar up or down. The selected dates/days will turn green.
Step 3: Select Times
Select the start and end time of the period you want group members to enter their availability for using the dropdown menus next to “No earlier/later than”. You may also change the time zone. When finished, click the “Create Event” button in the bottom right corner.
Step 4: Send the Link
Under the event name, you can email, Facebook message or copy the link to share the When2Meet with others. Everyone who receives the link will be prompted to enter a name and the option to enter a password. Click “Sign In” when finished.
Step 5: Enter Your Availability
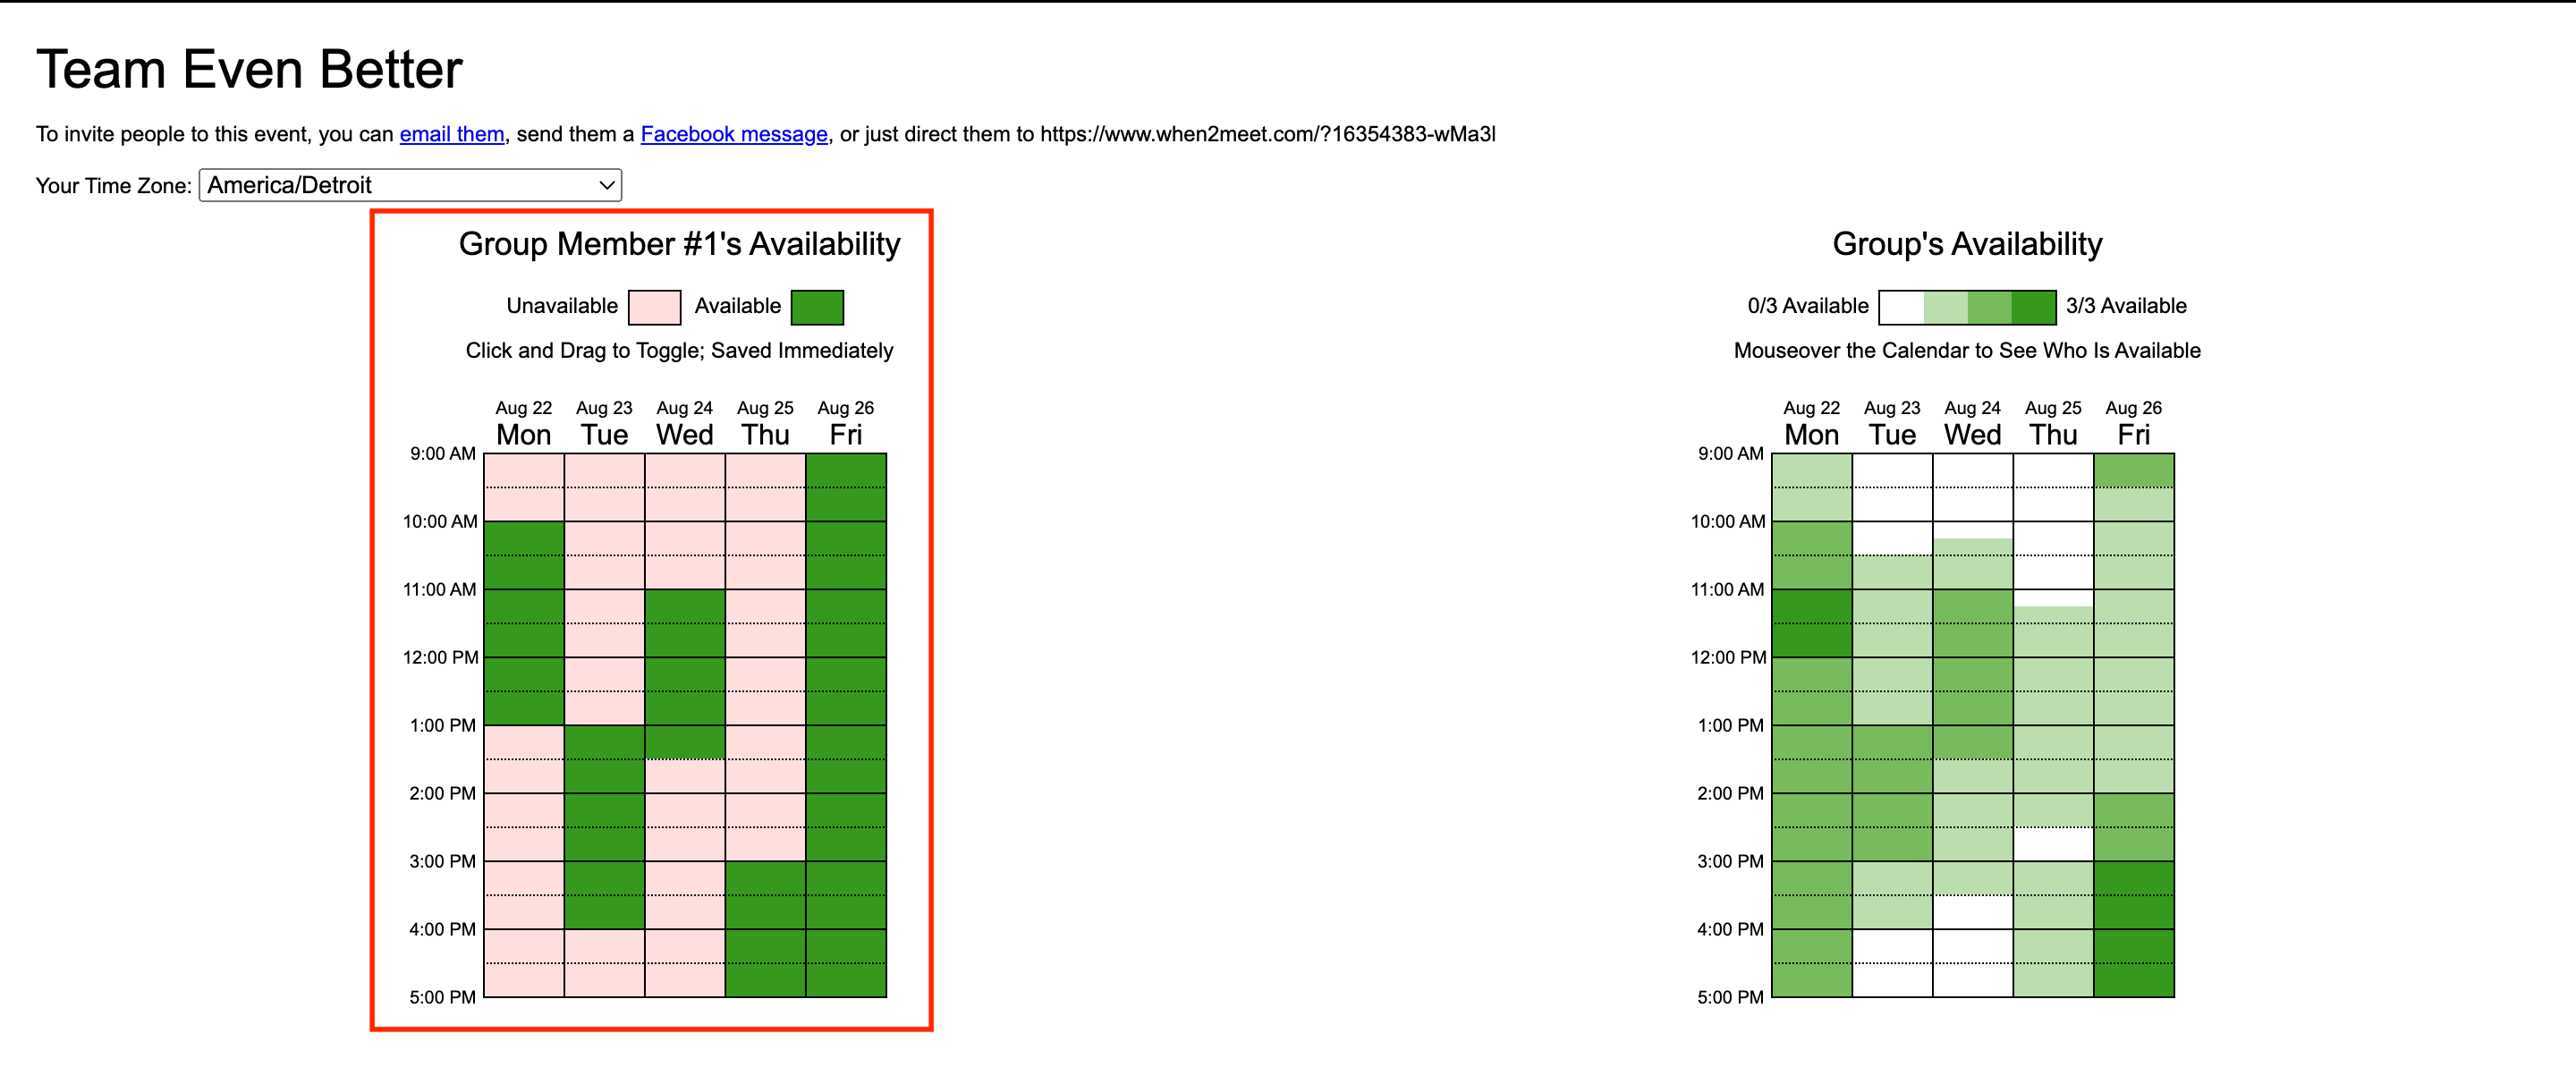
The left hand side shows your availability and the right hand side shows the group’s availability. On the left, enter your availability by clicking and dragging to toggle between green (available) and red (unavailable) in 15 minute increments.
Step 6: Check Group’s Availability
As group members enter their availability, the group availability calendar on the left will update. Hover over different times in the calendar to see who is available. As you hover over a time increment on the right, the name of each group member who is available/unavailable will be shown on the left.
5.5.4 More Resources
To contact support, ask questions, and watch a demo video about When2Meet, click here!